
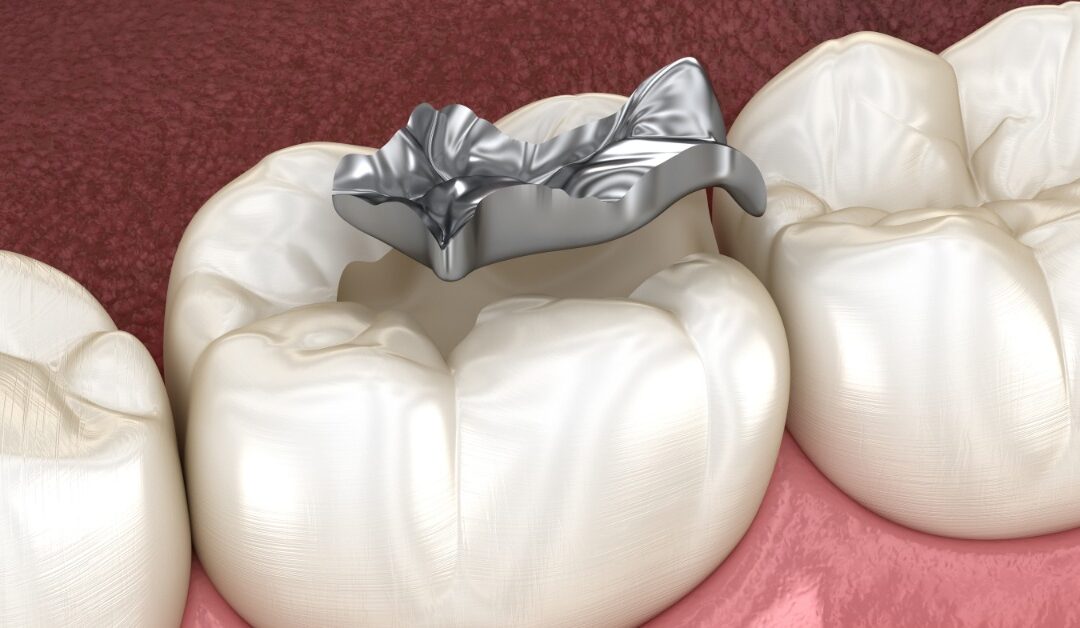
Amalgam fillings have restored decayed teeth for generations. However, some patients later question whether the material is beneficial for their health or not. Those concerns can lead them to explore a removal method that addresses the filling with careful controls.
Dental amalgam contains a blend of metals, including mercury. Drilling into the material can release vapor and small particles during treatment. For that reason, amalgam filling removal follows the detailed SMART process to protect the patient and dental team during the appointment.
What Is SMART?
SMART stands for the Safe Mercury Amalgam Removal Technique. The International Academy of Oral Medicine and Toxicology (IAOMT) developed this procedure to reduce exposure to mercury vapor and amalgam particles during removal. The protocol guides room preparation, tooth isolation, cleanup, and waste containment to ensure a safe process.
The IAOMT offers SMART certification for dentists who complete the educational program. SMART-certified practices demonstrate that the dentists have studied the organization’s detailed removal recommendations in order to provide high-quality care to patients.
Establish a Replacement Plan
First, the dentist studies the filling and the tooth around it. Dental images reveal decay beneath the restoration and cracks that aren’t visible during a standard exam. Since each tooth presents unique structural concerns, the findings shape the removal plan.
The filling’s size and location influence the type of restoration that can rebuild the tooth. Additionally, the remaining enamel determines if the tooth is capable of supporting a direct filling.
Small areas may receive a BPA-free white resin after removal, and large preparations may call for a porcelain inlay or onlay because back teeth handle substantial chewing pressure. On the other hand, a crown may suit a tooth that has minimal support. The goal for the evaluation is to determine the best plan that protects the patient’s health and restores tooth function.
Place Protective Measures Throughout the Room
On the day of the procedure, the dental team prepares the room thoroughly. SMART uses several protective measures because vapor and particles can travel through different routes.
The patient receives an impermeable covering over exposed skin and clothing. A separate barrier protects the head and neck near the treatment area. Meanwhile, the dentist and assistants wear protective gowns with gloves and face shields.
Outside Air Supports Breathing
The patient breathes outside air or oxygen through a nasal mask. The purpose is to prevent mercury vapor inhalation around the treatment area. Since the mask delivers air through the nose, the mouth can remain surrounded by the protective setup.
Filtration Captures Airborne Material
A high-volume filtration system runs close to the patient’s mouth. The IAOMT recommends this at-source oral aerosol vacuum to collect airborne material near its source. Its position near the face complements the suction equipment used inside the mouth.

Isolate the Tooth
The dentist isolates the treatment tooth from the tongue, cheeks, and surrounding oral tissues. They will place a non-latex dental dam and secure it around the tooth, creating a tight seal that exposes only the area being treated. This barrier prevents small fragments, water spray, and debris from moving toward the throat or being swallowed. It also keeps the working field dry and controlled, allowing the dentist to remove the filling more safely and efficiently.
Suctioning Near the Filling
The dental team positions high-speed evacuation close to the filling and keeps it there throughout the procedure while the drill operates. This constant placement lets the suction capture water, debris, and amalgam particles right at the point where they leave the tooth.
Meanwhile, external filtration systems continue operating near the patient’s mouth. With a two-layer approach, one system manages material inside the oral cavity, and the other controls airborne particles in the surrounding area.
Water Prevents High Temperatures
Before the dentist cuts each section of the amalgam, they direct a steady stream of water onto the filling. Continuous irrigation is important because drilling generates friction, and that friction increases the material’s temperature. Keeping the area cool reduces the potential for vapor release.
At the same time, high-speed evacuation works alongside the water spray to remove the resulting mixture of liquid and particles. The combination of copious water irrigation and strong suction is extremely important. The team activates both systems whenever the drill contacts the filling to manage heat buildup and efficiently carry away loosened material as it forms.
The Filling Leaves the Mouth in Sections
Instead of grinding the entire restoration away at once, the amalgam leaves the mouth in carefully planned sections. The dentist uses a small-diameter carbide drill to create precise lines through the filling. Once segmented, it’s gently lifted out of the tooth in manageable pieces.
This step-by-step approach reduces prolonged drilling across the surface of the amalgam for a more controlled removal process. It also allows the suction system to work more effectively, capturing each section as it is released.
Inspect the Exposed Tooth
The next step is to examine the tooth structure that once supported the amalgam filling. The dentist may find hidden issues, such as decay, weakened enamel, and cracks.
The dentist then removes any compromised material while preserving as much healthy tooth structure as possible. The final shape of the tooth will guide the design and placement of the new restoration.
Cleanup Completes the Removal Process
Flushing the treatment area with water occurs after removing the amalgam filling. The use of suction and filtration continues to remove any residual material from the mouth. Then, the dentist inspects the operating field to confirm that no debris remains. After this final check, the team removes the dental dam and transitions the appointment into the tooth restoration phase.

Contain Any Amalgam Waste
SMART doesn’t end once the dentist removes the filling. The dental team immediately directs the removed material into an amalgam separator connected to the suction system. This device captures mercury-containing particles before they enter the office plumbing. After collection, the office handles the material through a regulated disposal process designed for hazardous waste.
Although patients don’t take part in this stage, it plays an important role in the overall protocol. By managing waste carefully, the dental team extends SMART’s protective approach beyond the treatment chair and into the facility’s entire workflow.
Prepare for a Thorough Appointment
Patients considering mercury filling removal should expect more preparation than they would see during a routine filling replacement. Understanding the in-depth steps of SMART amalgam filling removal will ease your concerns about what occurs during the procedure.
Asheville Holistic Dentist provides SMART-certified amalgam filling removal. Schedule a consultation to discuss the existing filling and learn which restoration may support the tooth afterward.